Standard Development Environment
Table of Contents
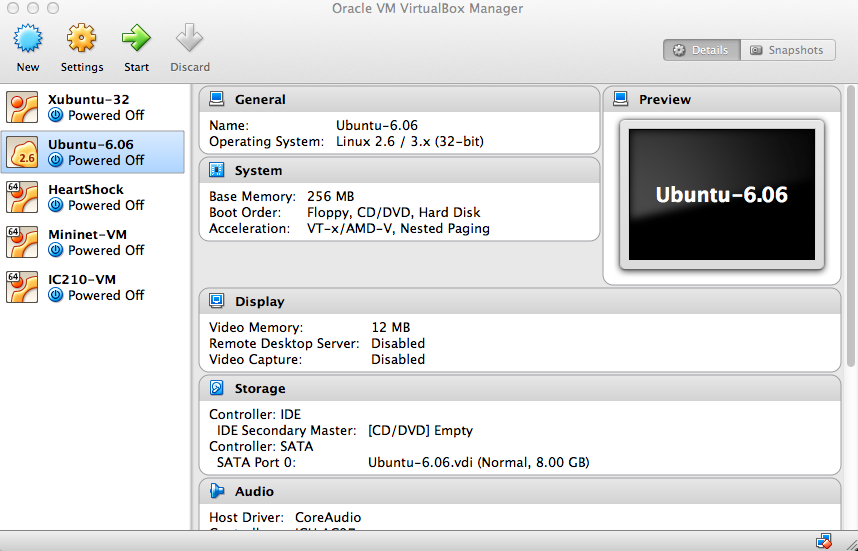
1 14.04 Xubuntu 32-bit running on VirtualBox
We will be using 32-bit, 14.04 Ubuntu for all assignments in this class unless otherwise noted. The particular ubuntu flavor of choice is Xubuntu, where the X stands for XFCE windowing environment. The XFCE windowing environment is much lighter weight (requiring less disc space and processing power) and thus is a good choice for virtualization.
We will also use VirtualBox for our virtualization tool. You may use vmware if you so desire, but all instructions will be provided in VirtualBox. The reason for this is that VirtualBox is completely free, and, frankly, I prefer it.
The submission environment will also meet the specifications described here. I strongly recommend that you perform all work locally on your virtualbox image, and then finally, complete your work on the submission environment since it will be shared across all users.
2 Installation
- Download and install VirtualBox https://www.virtualbox.org/wiki/Downloads
- Download the ubuntu 32-bit, 14.04 ISO. To help with speed, I have a mirrored the image for faster downloads. http://zee.cs.usna.edu/~aviv/xubuntu-14.04.2-desktop-i386.iso
- Open and start VitualBox
- Click the New button at the top to create a new VirtualMachine image
- Name your virtual machine Xubuntu-32, the type is linux, and the
version is Ubuntu 32-bit. The memory size of 512 MB is
sufficient, buut you may increase this if you like to 1 or 2
GB. Do create the virtual hard drive now. Click Create.
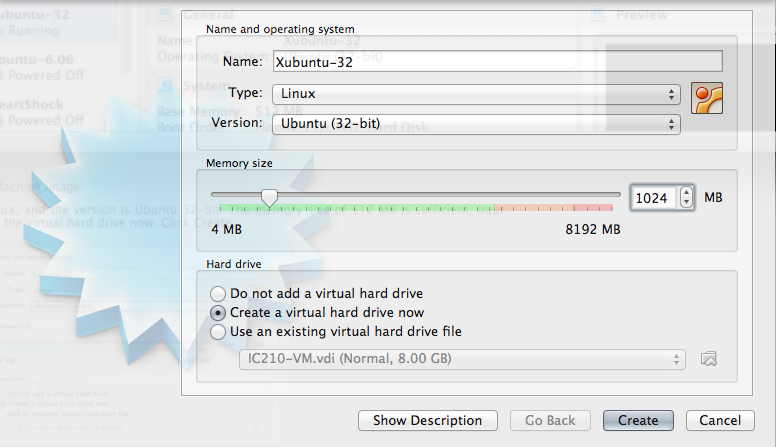
- When creating the disk, use the default settings of VDI (or VMDK if you want to transfer to VMware in the future) and 8 GB will be plenty of space.
- Once created, go ahead and start the vm which will not boot
because you haven't installed the operating system yet. To do so
click on the cd logo at the bottom of the screen, and then
select "Choose a virtual CD/DVD disk file …" Point the browser
window at your Xubuntu iso.


- Reboot the VM and now the Xubuntu installer will load. Do the default install configuration.
- For your username use your usna m* username (!!! Important !!!)
- For your password DO NOT USE your USNA network password (!!! Important !!!)
- Once installation complete, boot your VM and log in. There is still some in environment setup to go.
3 Setup
3.1 Install Guest Editions
Vbox virtual machine run happiest when they have additional software to make they run faster, the so called guest additions. To install the guest additions, you must load the Guest Edition DVD into the virtual machines DVD drive.
- Go to the menu for the virtual machine, select Device->Insert Guest Addition CD Image. The CDROM icon should apear on the desktop if succesful.
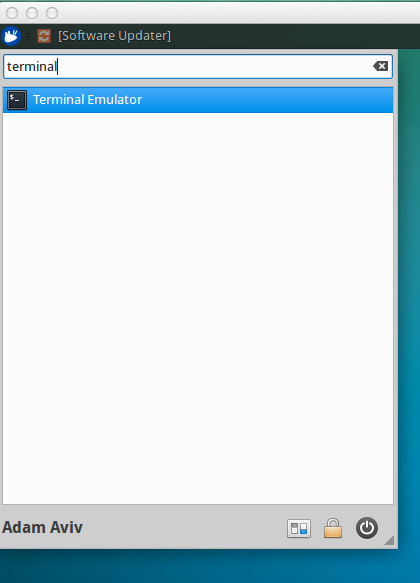
- Open a terminal by clicking on the "mouse" in the upper left
corner, then type terminal and open the terminal
- In the terminal, cd into the media cd rom directory, and execute
the commands
$ cd /media/m179999/VBOXADDITIONS_4.3.30_101610/
$ sudo ./VBoxLinuxAdditions.run
- Reboot the virtual machine
3.2 Installing Libraries and Tools
- Open a terminal and execute the following commands to get your
apt setup right and up to date. Say yes when prompted
# sudo apt-get update
# sudo apt-get upgrade
- Install the following libraries and tools
$ sudo apt-get install gcc gdb manpages emacs24 git openssh-server hexedit
- You can search for other libraries using apt-cache if you want but this is what you need for right now
$ apt-cache search some-library-to-install
3.3 Setting up GDB
We would like gdb to use Intel style syntax by default. To do this,
edit your .gdbinit file in your home directory (use vim or
whatever if you want)
$ emacs ~/.gdbinit
and add the line
set disassembly-flavor intel
Additionally, I like the following shortcut ds for looking at
disabled code regions, and you can add that alias like so, again in
the .gdbinit file
alias ds=disassemble
3.4 Turning off ASLR
For many of the assignments, we will not use Address Space Layer
Randomization (ASLR). This can be disable using in the kernel by
setting the value /proc/sys
echo 0 | sudo tee /proc/sys/kernel/randomize_va_space
3.5 Editing Default Options to gcc
We will be turning off some stack based protections in gcc, the
gnu c compiler, and the easiest way to ensure that they are turned
off is to add an alias for gcc. To have the alias by default create
a file called .bashaliases in your home directory
$ emacs ~/.bash_aliases
And add the following line:
alias gcc="gcc -fno-stack-protector -z execstack"
Close and reopen the terminal.